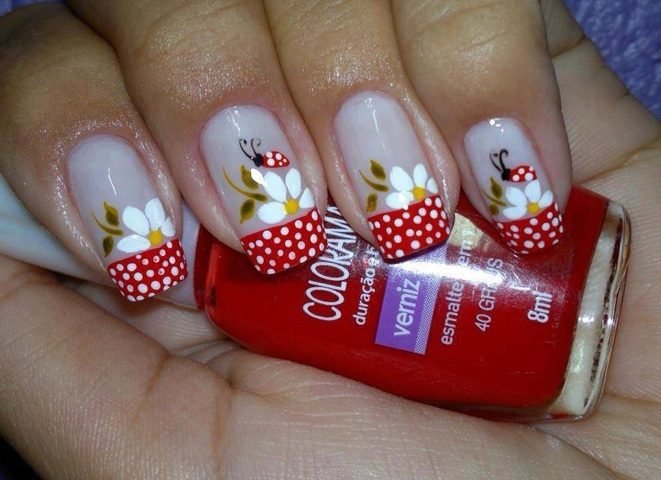
When it comes to nail art, you can get inspiration from almost anything you see around you – right from nature and fabrics to embroidered designs and bling. Beginners should start with easy and simple designs such as flowers and gradually they can try other complex designs such as backdrop of any impressionist paintings. With a little dose of imagination and creativity, you can also create your own patterns that make your nail art look so much like you. That being said, today let’s find out how to make flower nail art designs. Read on!
When it comes to flower nail art designs, you need to master the basic rules of using nail paints and the technique of creating dots. While it seems super easy on a piece of paper, it actually requires a careful hand with lot of patience when it comes to painting on nails. Within limited space you have to create intricate miniature designs, so you should practice having a knack for creating dots.
The best way to obtain those designs is to have a good flower nail art tool kit, especially the dotting tools along with a couple of colors.
These are the nail art supplies you’ll require –
- Basecoat – It is necessary to protect the nails. Besides, it also offers the right base that helps you easily obtain the desired artwork designs
- Topcoat – This coat is essential, as it ensures your flower nail art design lasts for longer time period. Plus, this coat also adds sheen and fine polish to your work.
- Base color
- Nail polish for petals – You can go for deep red, violet, green, yellow, orange and burnt sienna for your designs
- Nail polish for the center
- Dotting tool
- Toothpick
As you keep experimenting with your creative side, you’ll realize that inspiration can enlighten you even at the oddest moments and suddenly you have many patterns to play with.
- Firstly, you need to remove any old paint from your nails and then apply a base coat. Leave your nails for some time, allowing the coat to dry completely
- Once the base coat has dried, apply your desired base color. Let’s say grey for now
- Let it dry and then prep your nails for the flower nail art
- Now take a scrap of paper and pour a little amount of your color that you’ll need for dotting
- With the help of your dotting tool, create 5 dots in the shape of a flower.
- Once you are done with the 5 dots, use a toothpick and drag each petal into the center without using any new color
- Get your next color ready and pour a little amount of it on a paper
- Now apply this second color in dot form at the center of the 5 petals
- You can either create a large and single flower at the center of the nail or a number of miniature floral designs depending upon your choice
- Sky is the limit when it comes to ideas. You can add in little bit of your creativity and can create your own design
- After the floral designs have dried up, use a top coat over them. This will ensure your nail designs last longer
Let’s look at more floral art designs. Take inspiration from these and play around with your colors and designs.
Keep exploring your creative side by experimenting with different colors and designs. And you can gradually become a pro in this field and who knows you might have your own flower nail art blog, where you would be sharing your ideas!
Source: fashionlady.in


